

Pythonを使ったデータ分析はできるようになったけど、アプリなんかも簡単に作れないのかな。
今までPythonを使ったデータ分析をメインにした記事を書いてきました。
ある程度プログラミングに慣れてくると、もっと別のこともしたいと思いませんか?
例えば「ウェブアプリを作ってみたい!」など。
そこで今回は、ウェブアプリをつくってみましょう。

Pythonなら、ウェブアプリを作りインターネット上に公開することが比較的簡単に行えます。
今回作成するアプリは下の記事で紹介した、CDCの飲食店向けの「食品安全文化評価ツール」を使います。
完成すると、このようなアプリになります。試しにやってみてください。
飲食店の従業員になったつもりで16個の質問に答えていき、最後に提出ボタンを押します。
すると、「従業員のコミットメント」「資源」「責任者のコミットメント」「リーダーシップ」の4分野における、施設の状況が可視化されるという単純なアプリです。
Webアプリケーションの略で、インターネットに接続したブラウザ上で利用できるアプリのことです。GmailやYouTube、楽天などのECサイトもウェブアプリです。
スマホアプリと異なり、端末にアプリをインストールする必要がありません。
ウェブアプリを作ろうと思うと、通常、プログラミング言語(HTML/CSS、JavaScript)、フレームワーク、Webサーバなど、多くの知識が必要になります。
それを今回はPythonだけで行うというわけです。
Pythonを自分の端末にインストール
今まではGoogle Colaboratoryを使ってPythonを実行していました。
ウェブアプリはGoogle Colaboratoryでも作れますが、今回はPythonを自分の端末にインストールして行います。
環境構築が少し面倒ですが、Pythonで複雑な作業を行う場合、Google Colaboratoryよりも扱いやすいです。これを機会に自身の端末にPythonの環境構築をしましょう。
以下は2023年12月17日時点でのWindows11(64bit)での手順です。そのため、お使いのパソコンの状態や行う時期によっては、でてくる画面が少し違ったりするかもしれません。
Pythonの公式HPを開くと下の画面になります。そこでDownload Pythonをクリックします。(PCの条件が違う場合はこちらからダウンロードしてください。)
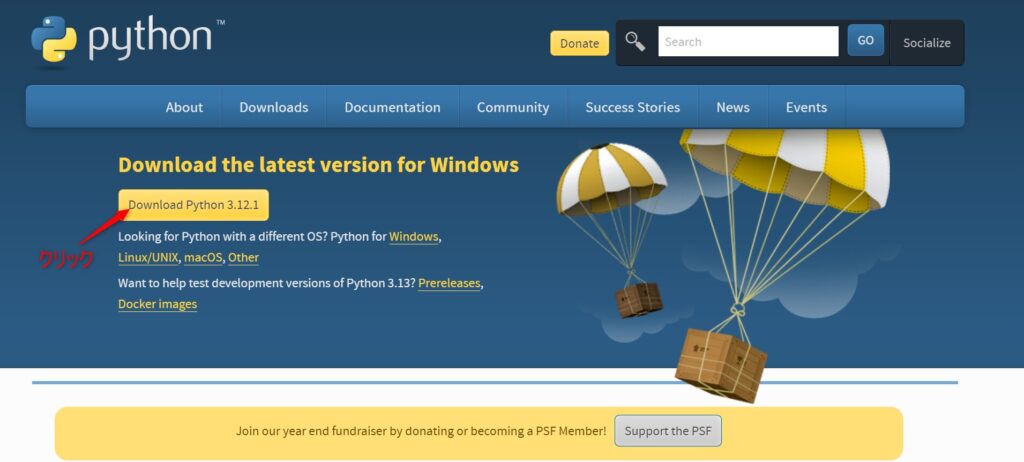
インストーラーpython-3.12.1-amd64.exeがダウンロードされます。
ダウンロードしたインストーラーをダブルクリックすると下の画面になります。
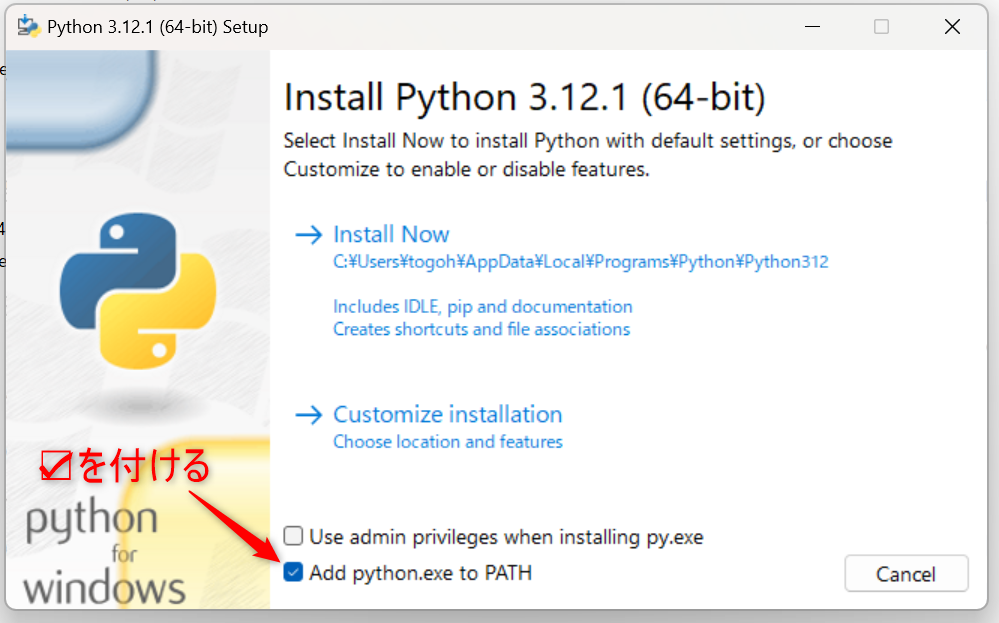
Add python.exe to PATHに☑をつけ、Install Nowを選びます。
少し待つとインストールが終了し、下の画面になるので、Closeで閉じます。
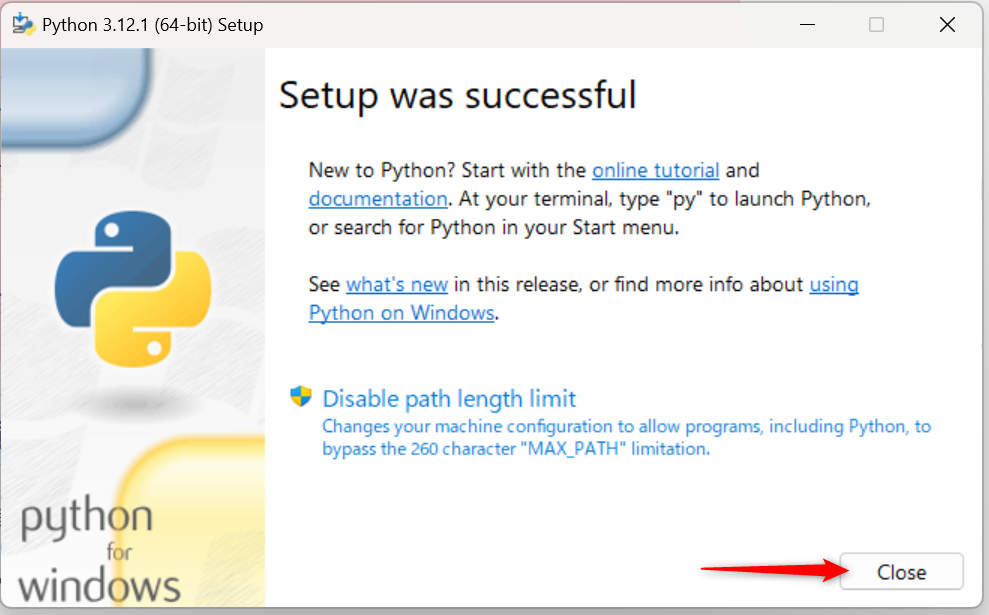
以上でPythonがPC端末にインストールされました。
コード エディター(Visual Studio Code)をインストール
Pythonのプログラムは、Windowsに標準で付いている「メモ帳」のようなテキストエディタで書くことが可能です。しかし、より高度なエディタを使った方が、効率的にプログラミングが行えます。
そこで今回はVisual Studio Codeをインストールします。(VS Codeと略します。)
Microsoftが開発提供しているエディタです。幅広いプログラミング言語に対応し、無料で使えます。拡張機能が多く、初心者にも使いやすいです。
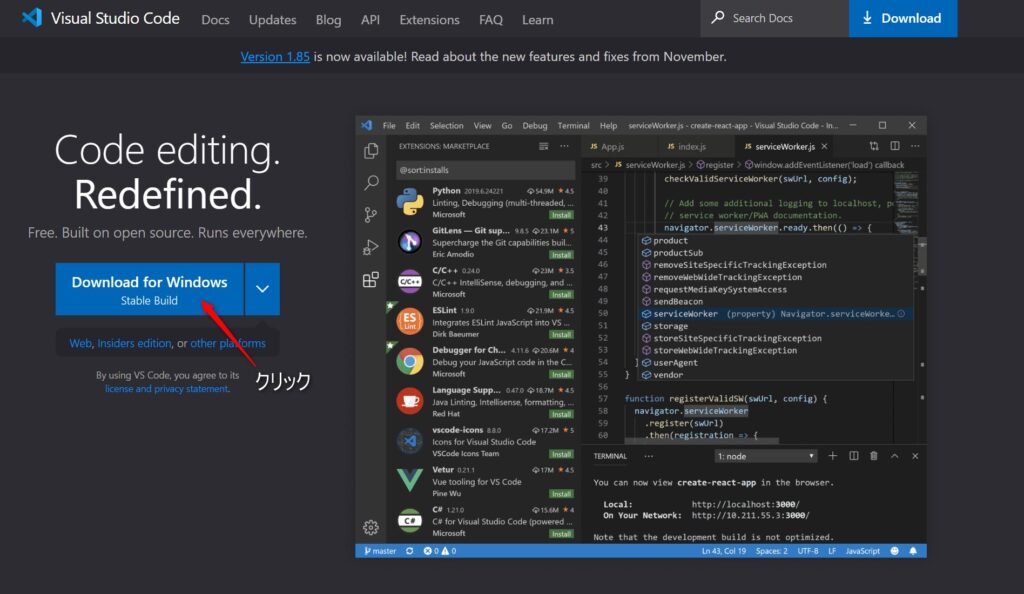
VS Codeの公式HPからインストーラーをダウンロードします。(PCの条件が違う場合はこちらからダウンロードしてください。)
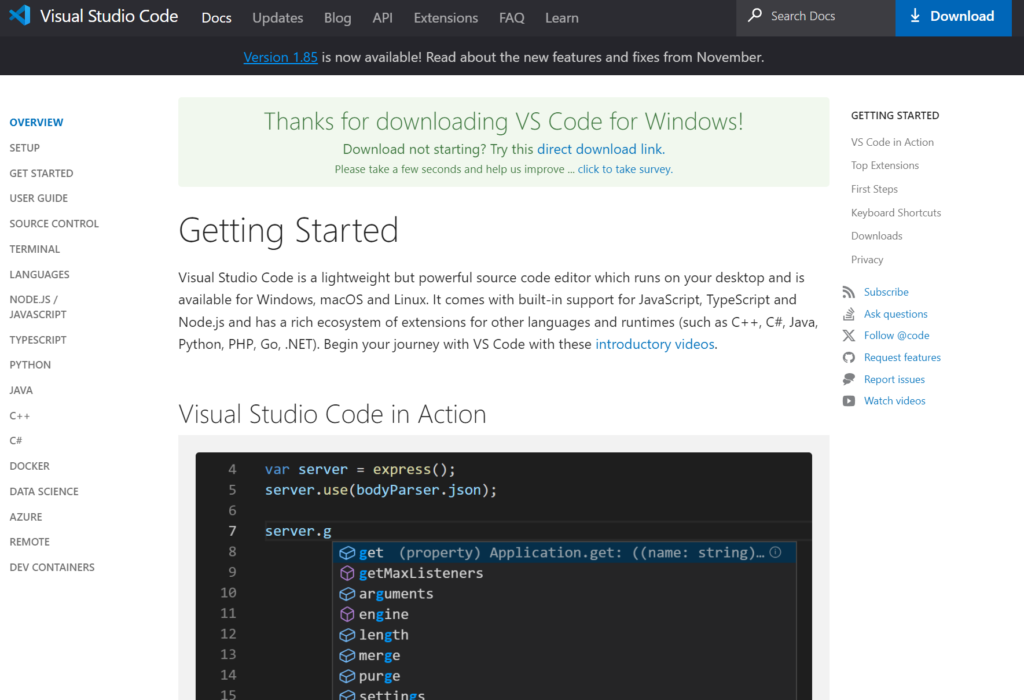
Download for Windowsをクリックします。
すると画面が変わり、インストーラーVSCodeUserSetup-x64-1.85.1.exeがダウンロードされます。
ダウンロードしたインストーラーをダブルクリックすると下の画面になります。
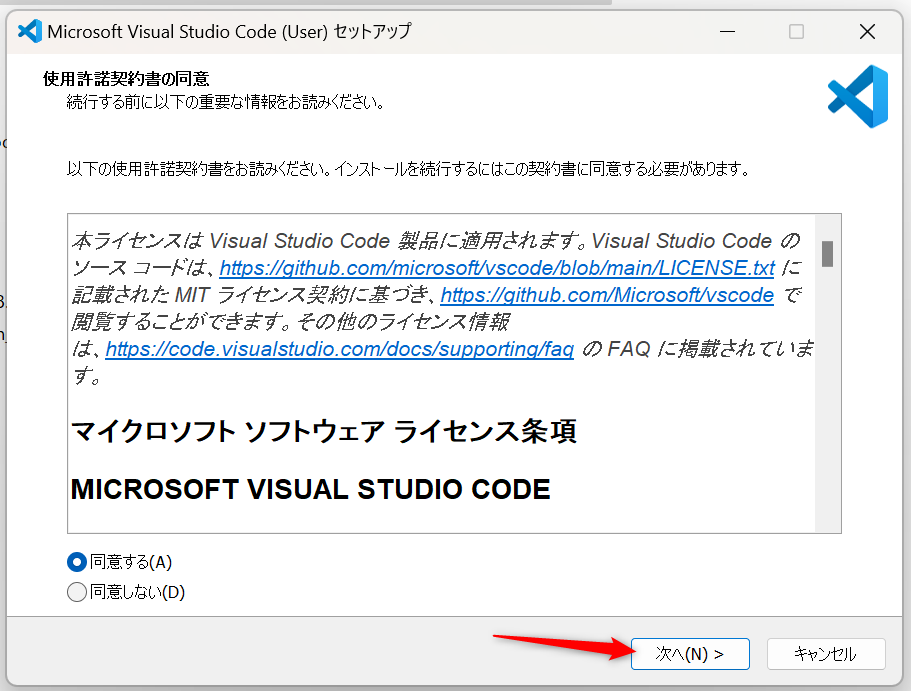
同意するとし次へをクリックします。
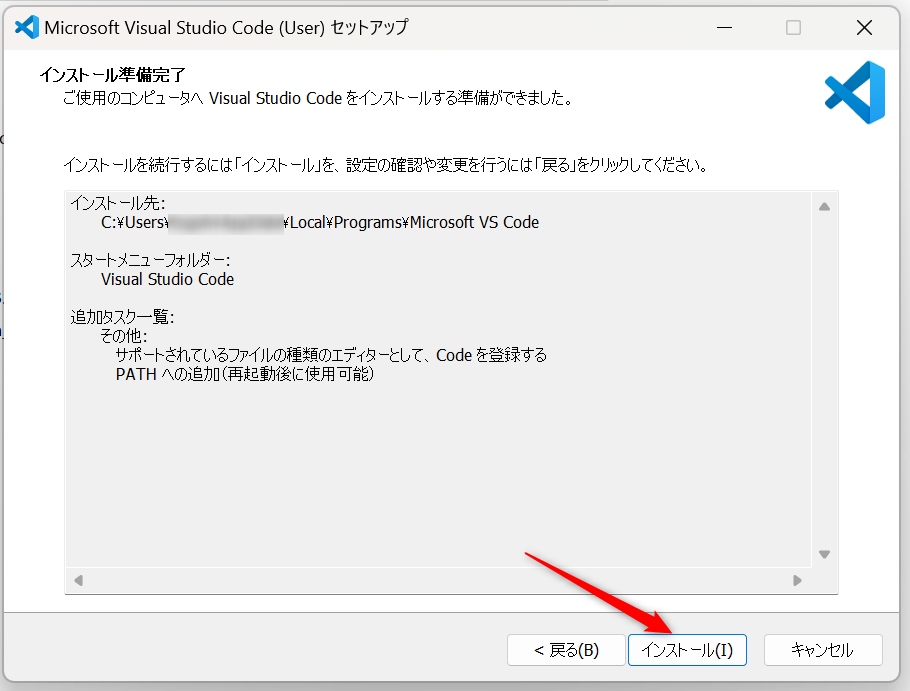
デフォルトのまま次へを何回かクリックしていくと、下の画面になるのでインストールをクリックします。
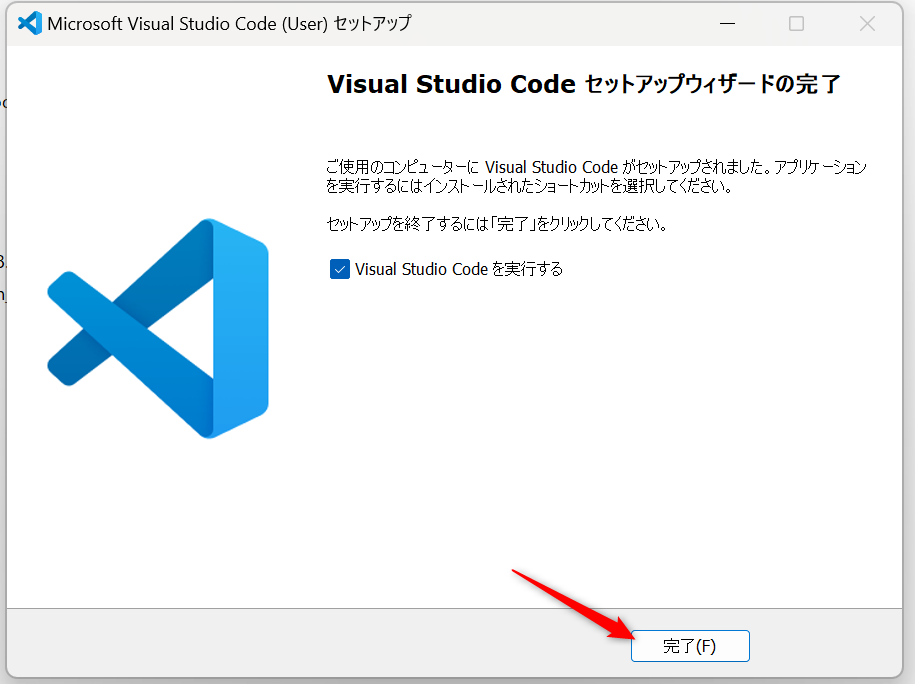
インストールが完了すると、下の画面になるので、完了をクリックします。するとVS Codeが自動で起動します。
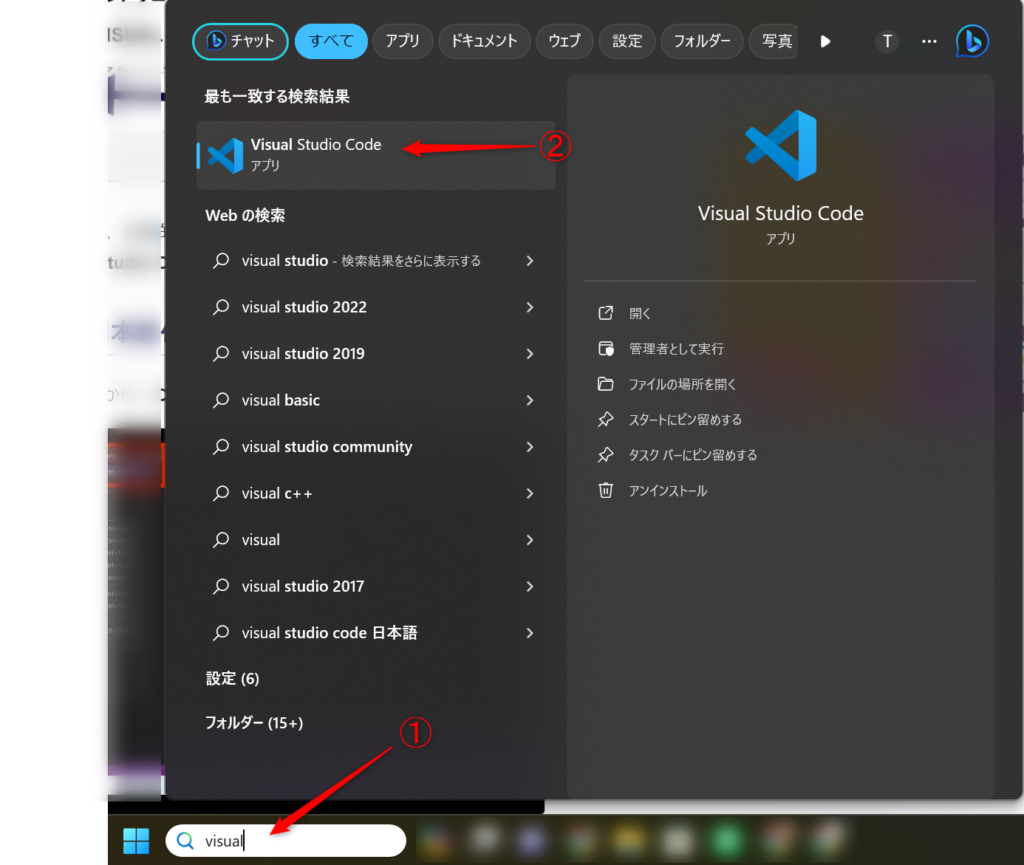
自動でVS Codeが起動しなかった場合は、PC画面下のウインドウズボタンの横にある検索バーに「visual」などと入力します。すると先ほどインストールしたVisual Studio Codeが出てくるので選択します。
これでVS Codeがインストールできました。
Visual Studio Codeの設定
VS Codeが起動したら、拡張機能をインストールしていきます。
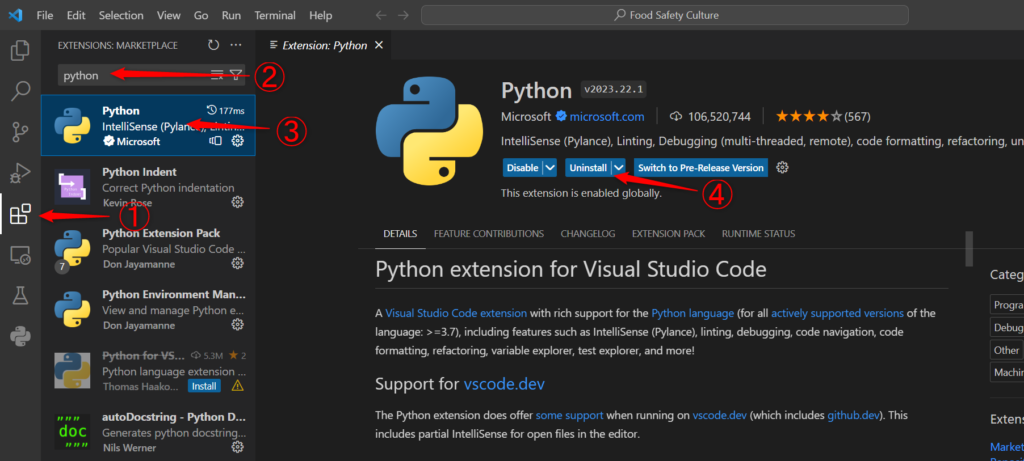
まず、左側にある拡張機能を選びます①。そして、検索ボックスに「python」と入力します②。一番上に出てきたpythonを選び③、installをクリック④します。(画像はすでにインストール済みだったため④がUninstallとなっていますが、みなさんはInstallとなっています。)
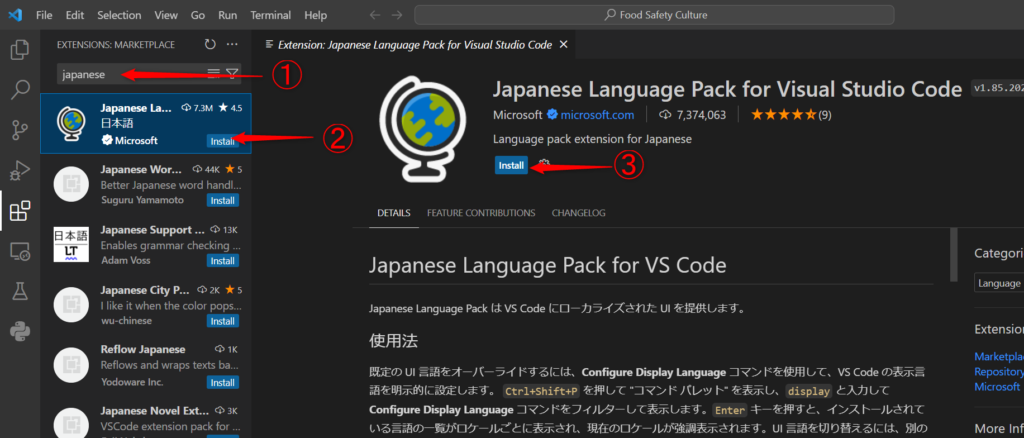
次に、日本語にするための拡張機能もインストールします。
検索ボックスに「japanese」と入力する①。一番上に出てきた「Japanese La…」を選ぶ②。installをクリックします③。
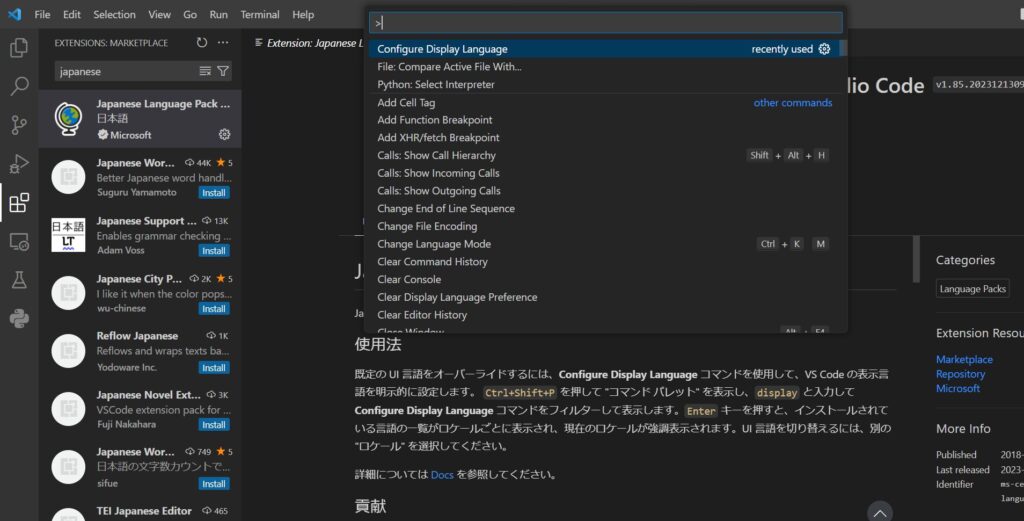
インストールが終了後、キーボードでCtrl+Shift+Pを押します。すると上部の検索ボックスの一番上にConfigure Display Languageが出てくるので選択します。
Englishの下にある「日本語(ja)」を選びます。
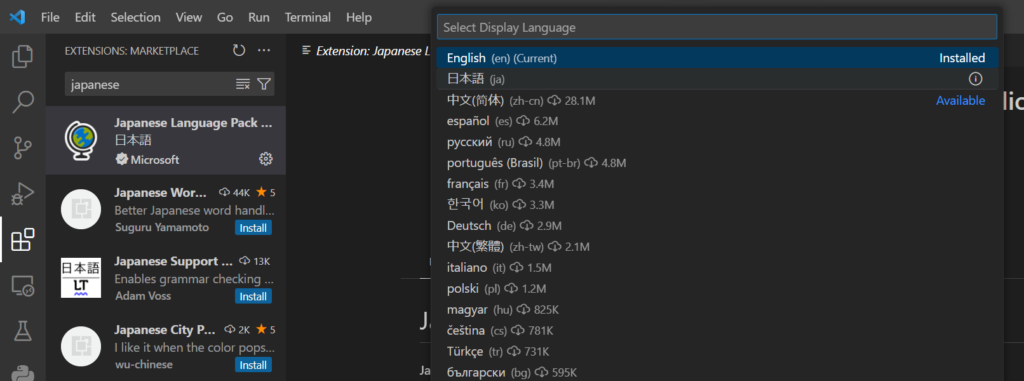
日本語バージョンに変更するにあたって再起動が求められるため、Restartを選ぶ。
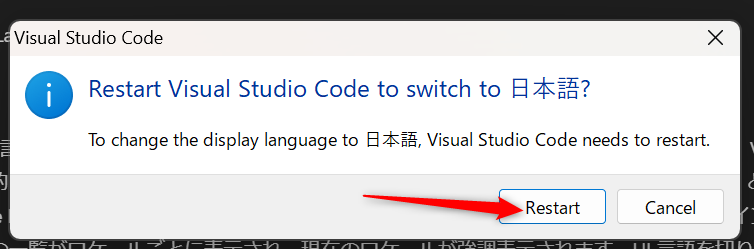
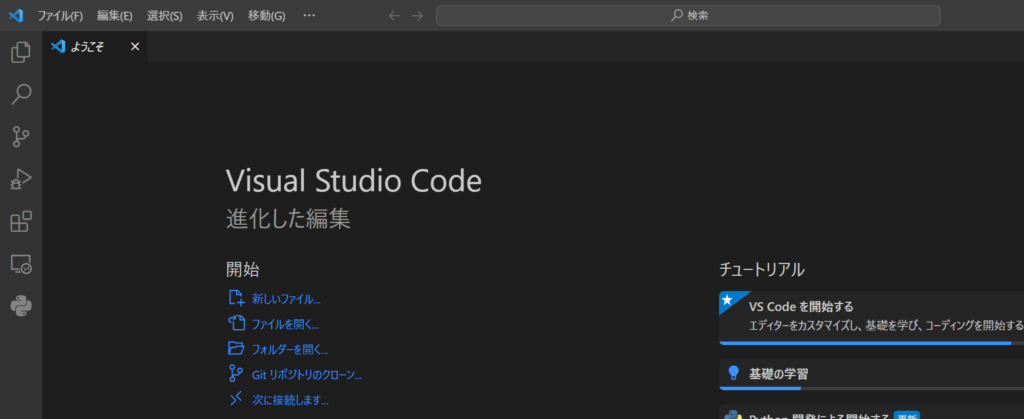
するとVisual Studio Codeが再起動し、日本語バージョンになります。
VS CodeでPythonを実行
デスクトップ上に今回使用する新しいフォルダを作成します。今回フォルダ名はFood Safety Culture appとしました。
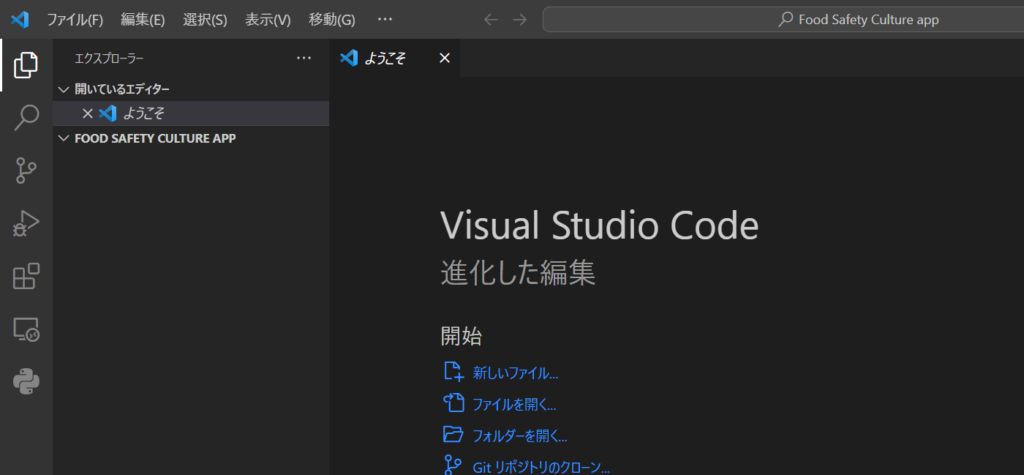
次にVS Codeの左上にあるファイルの中のフォルダーを開くをクリックし、先ほどデスクトップに作ったフォルダーを選びます。
すると左側のサイドバーにフォルダが表示されます。
フォルダ名にマウスのカーソルを合わせ、左端の新しいファイルをクリックします。
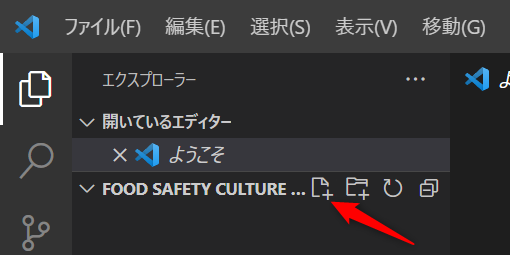
app.pyと入力しEnterキーを押すと、下のようにapp.pyファイルが作られます。ファイル名に「.py」とすることで、Pythonのファイルであるとコンピュータに伝えています。
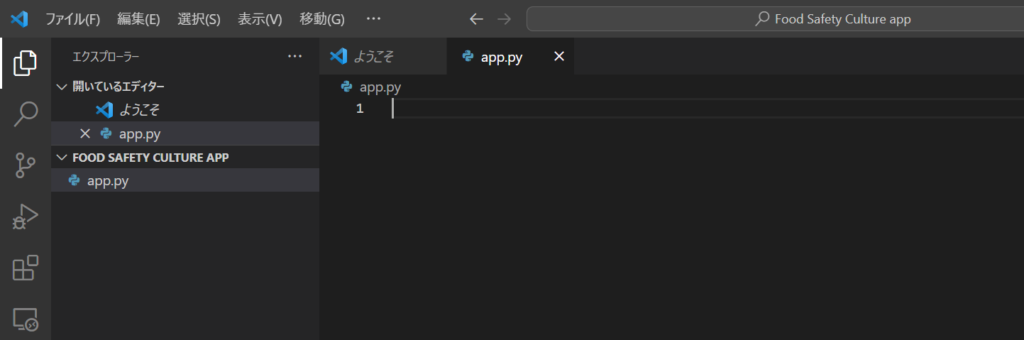
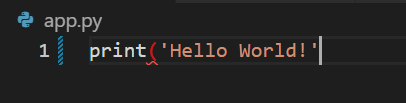
それではapp.pyの1行目にprint('Hello World!')と入力してみましょう。
すると、ファイル名の横が●となっています。この状態はまだファイルが保存されていないということです。
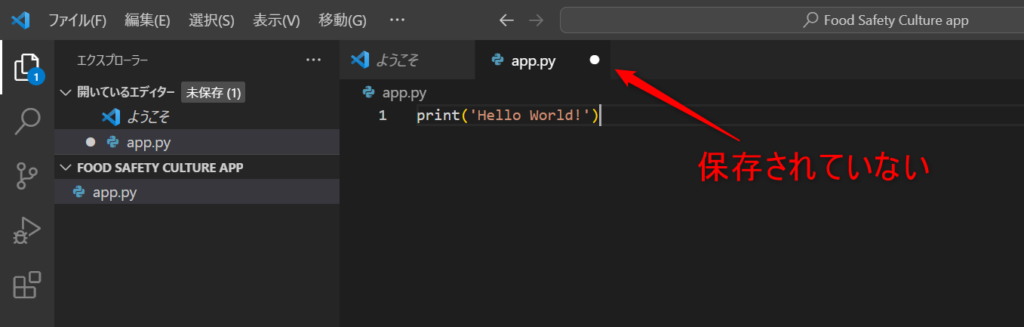
キーボードのCtrl+Sでファイルを保存します。保存すると●が消えるのを確認してください。

ファイルの保存を忘れてエラーになることがよくあるので、ファイルの保存には気を付けて行うようにしてください。
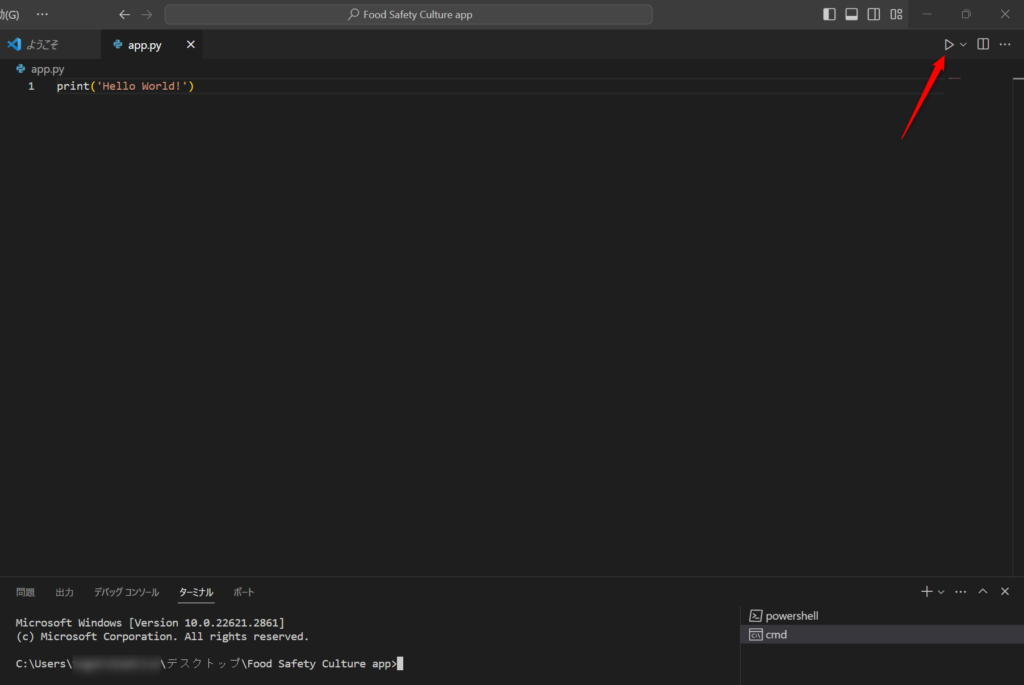
VS Code左上の表示からターミナルを選ぶと、画面下にターミナルが開きます。そうしたら、プラスの横にあるⅴを選び①、Command Promptを選択します②。すると右下にcmd(Command Promptのこと)が作られます。

VS Code右上の▷をクリックするとpythonが実行されます。
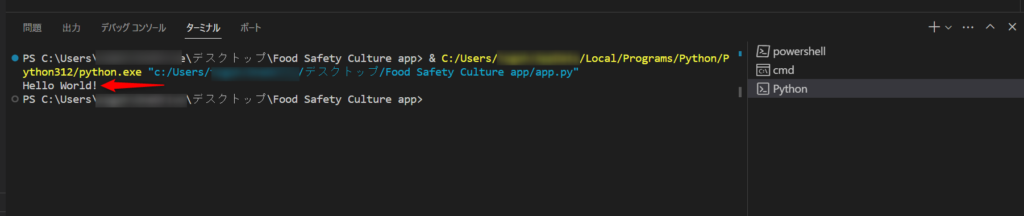
ターミナルが実行され、「Hello World!」が表示されれば成功です。
試しにエラーを起こしてみましょう。print('Hello World!'と ) をなくしてみました。すると ( の文字が赤くなり下波線が引かれます。VS Codeを使うとこのようにコードのおかしい箇所を教えてくれます。
無視してそのまま実行すると、ターミナルにエラーが表示されました。「( が閉じられていない」となっています。

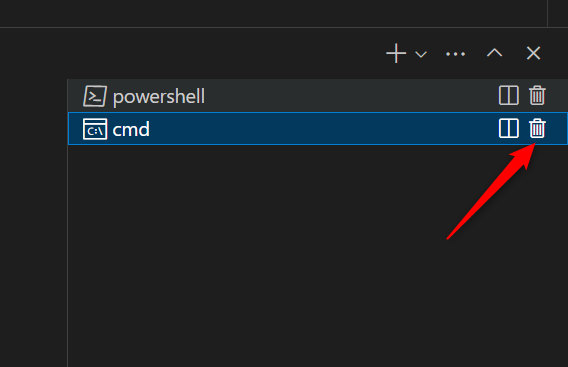
今後Pythonを実行していくと、ターミナルにpowershellやcmdなどターミナルが溜まっていきます。不要なターミナルはゴミ箱アイコンをクリックすると削除できます。
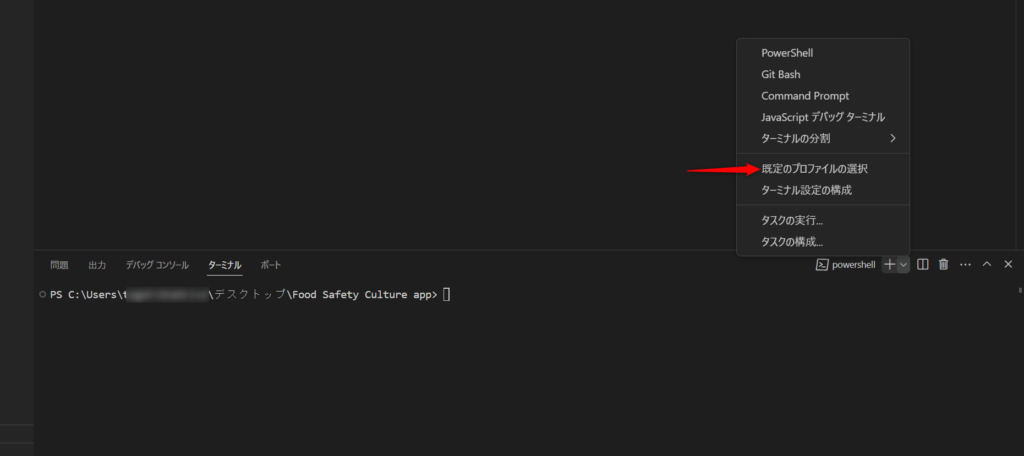
また、Windowsはターミナルのデフォルトがpowershellになっています。毎回cmdに変更するのが面倒なため、デフォルトでcmdになるよう変更しておきます。
先ほどCommand Promptを選んだ画面で規定のプロファイルの選択を選び、Command Promptがデフォルトで実行されるようにしましょう。
以上でpythonを自身のPC上で行うための環境構築が終わりました。

お疲れさまです。
新しい言葉や設定が多くて大変でしたね。
VS CodeとPythonがインストールできれば、いろいろなことが行えます。
次回は実際のウェブアプリ作成を行っていきます。


コメント